
Zendesk Customer Service AI Bot Jul 3, 2025 2:11:11 PM Chantara W. 11 min read

Setting up Zendesk for your business is exciting, but it can also feel overwhelming. If you're leading a small to mid-sized business, launching a fast-growing startup, or managing customer support within a manufacturing company, you already have a lot on your plate. Getting your support platform off the ground shouldn’t be another heavy lift.
That’s where this guide comes in.
This post will walk you through seven essential steps for launching a modern, scalable support system using Zendesk. By the time you finish, you’ll have a fully functional customer support platform with live chat, a self-service portal, automated workflows, and AI-powered features that grow with you.
We’ve worked with businesses across industries, and as a Certified Zendesk Partner, we’ve seen what works and slows teams down. We aim to help you get up and running quickly, without cutting corners.
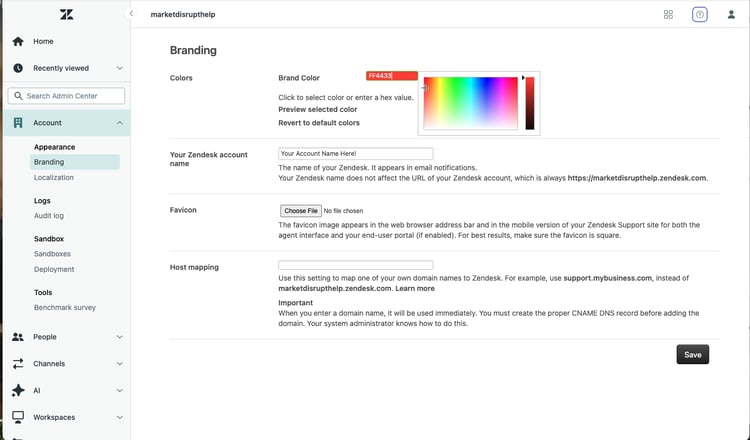
Step 1: Set Up Branding and Account Basics
Let’s start with the foundation, making Zendesk feel like an extension of your company. Before a customer chats with an agent or views a help article, their first impression of your support experience is formed by your visual branding and how your system interacts with them. That includes your logo, color scheme, time zone, support hours, and the overall tone of your messages.
These first touches are subtle but powerful. When your customer sees an email from your verified domain or reads a friendly automated response that resembles your brand, it fosters trust. And when your Zendesk instance runs on local business hours and speaks your customers’ language, you’re already delivering a better experience.
This isn’t just about looking good. It’s about setting up your entire customer support software stack for long-term success, one that feels consistent, reliable, and thoughtfully designed from day one.
Key actions:
- Upload your logo, favicon, and brand colors
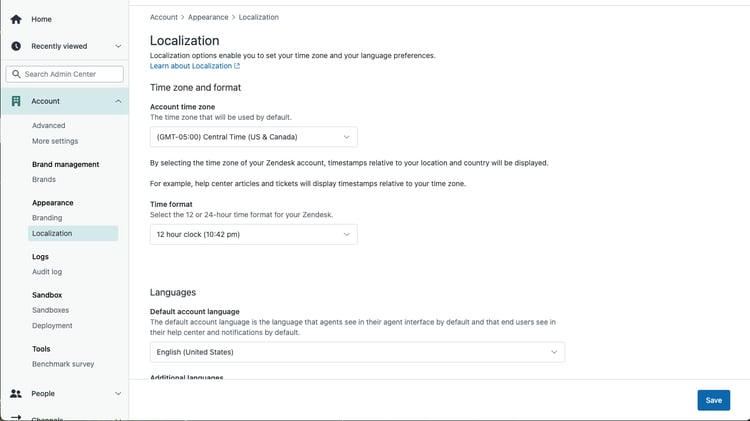
These elements appear in your Help Center, customer emails, and live chat widget. Use your official branding to make Zendesk feel like a natural part of your website and product experience. - Set your time zone, business hours, and default language
This ensures Zendesk functions on your schedule. It affects service level agreements, ticket automations, and your live chat and messaging availability. - Connect your support email and verify your domain
Using a verified support address allows Zendesk to send messages directly from your business, not a generic system. This improves deliverability and helps avoid spam filters. - Establish your messaging tone and voice
Whether you lean friendly and conversational or more formal and precise, Zendesk lets you shape the tone in automated messages, live chat responses, and bot interactions. Consistency here sets expectations and builds credibility with customers.
Getting these pieces in place early helps create a polished, trustworthy support experience and lays the groundwork for everything else in your omnichannel support strategy.
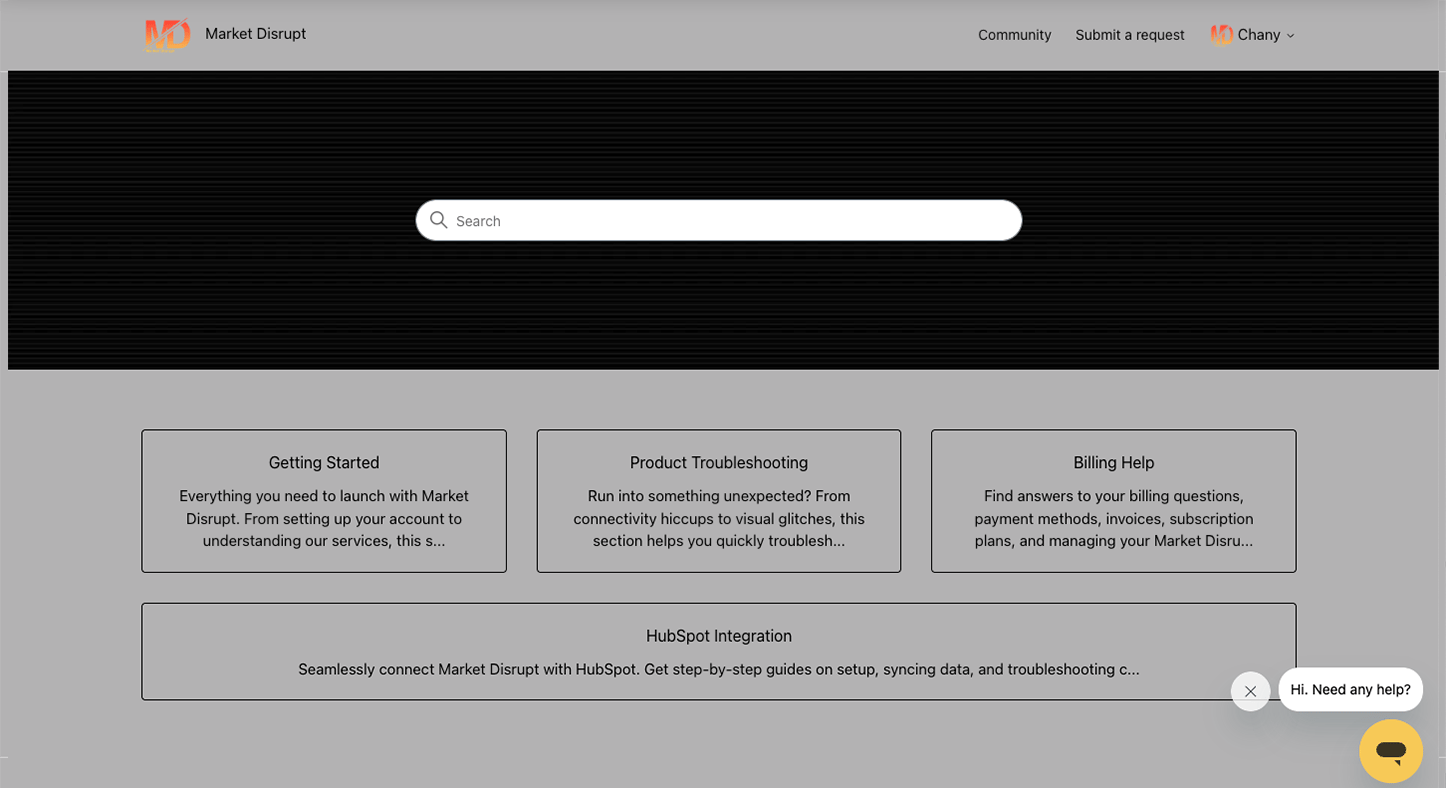
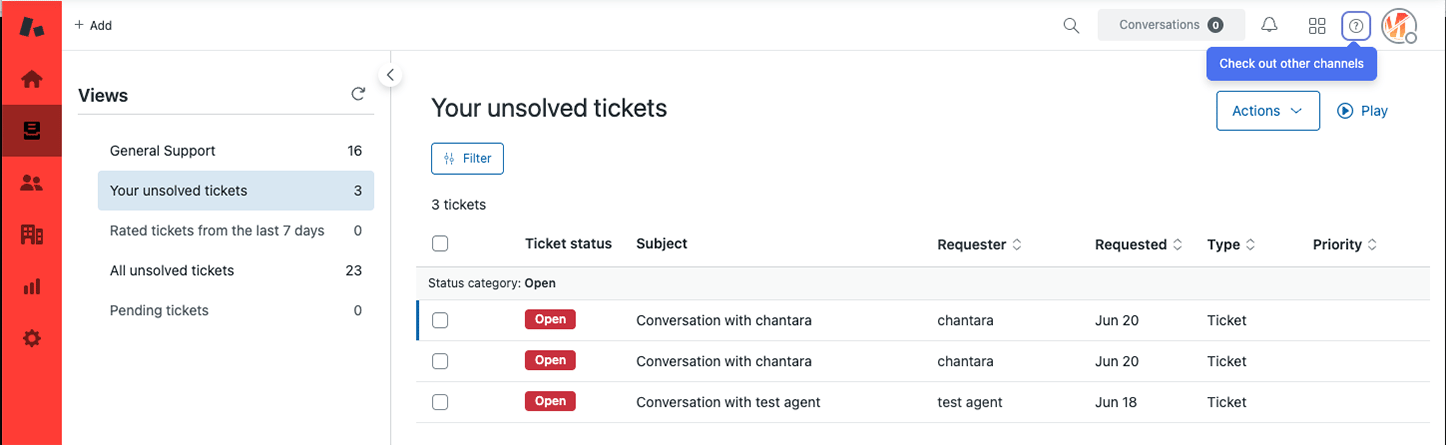
Step 2: Launch Your Self-Service Portal
Once your Zendesk account looks and feels like your brand, it’s time to empower your customers to help themselves. A self-service portal is one of the most powerful tools in your customer support software toolbox. It’s always available, reduces ticket volume, and delivers value instantly, even when your agents are offline.
Customers today expect to find answers quickly. Whether they have a basic “how-to” or a billing-related question, they’re more likely to check your Help Center before reaching out. That’s why launching your self-service portal early helps create a more scalable support experience from the start.
Zendesk makes this easy through Guide, its Help Center tool. With a few thoughtful categories and a handful of well-written articles, you can launch a fully functional, searchable knowledge base that grows with your business.
Key actions:
- Activate your Help Center
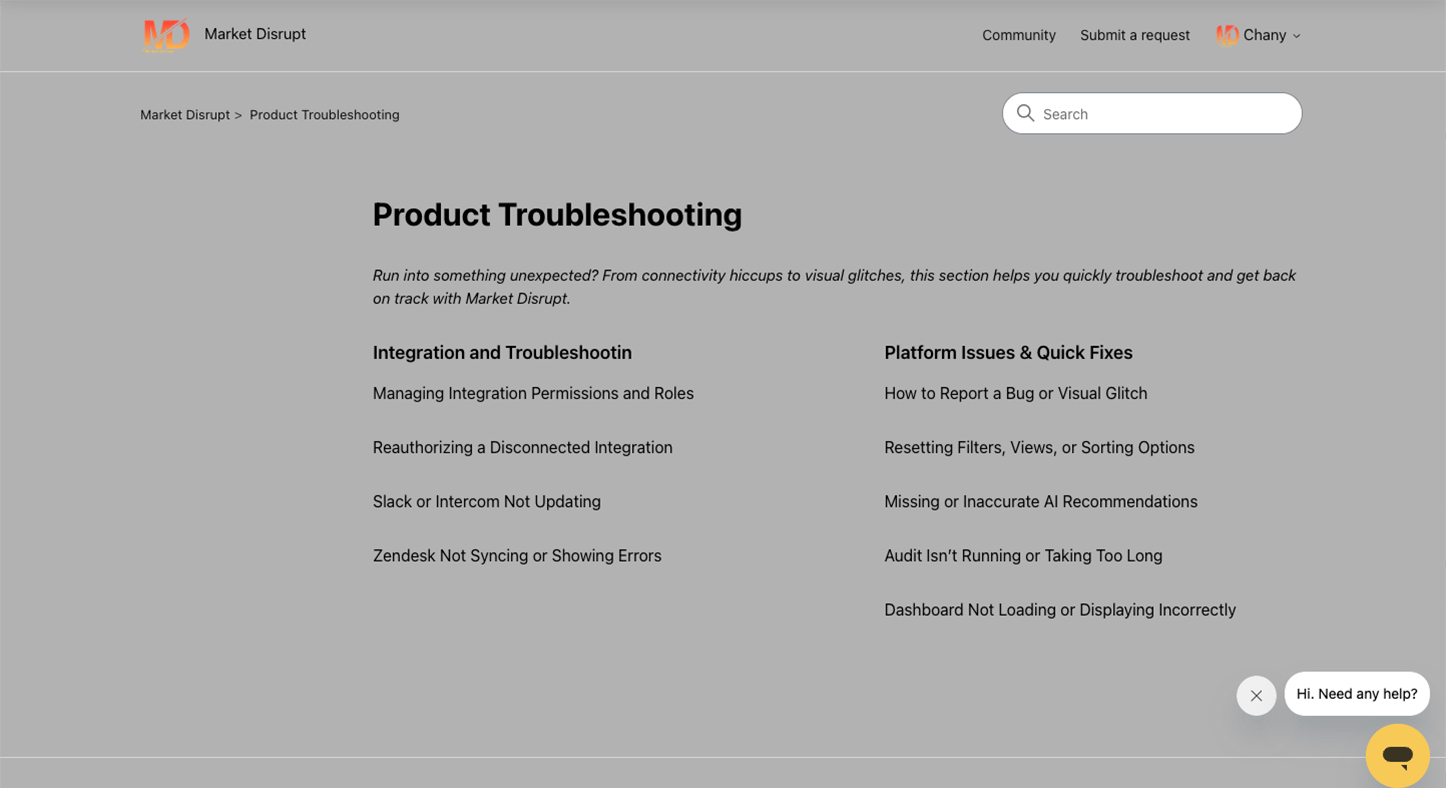
This is the home base for all your help articles and documentation. Turning it on gives your customers 24/7 access to support content. - Create categories that match your customer journey
Think "Getting Started," "Troubleshooting," or "Billing & Payments." Clear categories help users navigate directly to what they need. - Write five to eight practical, focused help articles
You don’t need a library overnight. Start with your most frequently asked questions and keep answers short, actionable, and easy to follow. - Enable article search and embed your Help Center into chat
Zendesk’s search makes your content discoverable through the widget, the bot, or the Help Center homepage, boosting efficiency for everyone. - Continue building based on real support tickets
As you go, turn repetitive questions into new articles. Your portal becomes more powerful with every post.
 A well-organized self-service portal is the backbone of a scalable support solution. It’s not just convenient, it actively improves your customer experience platform.
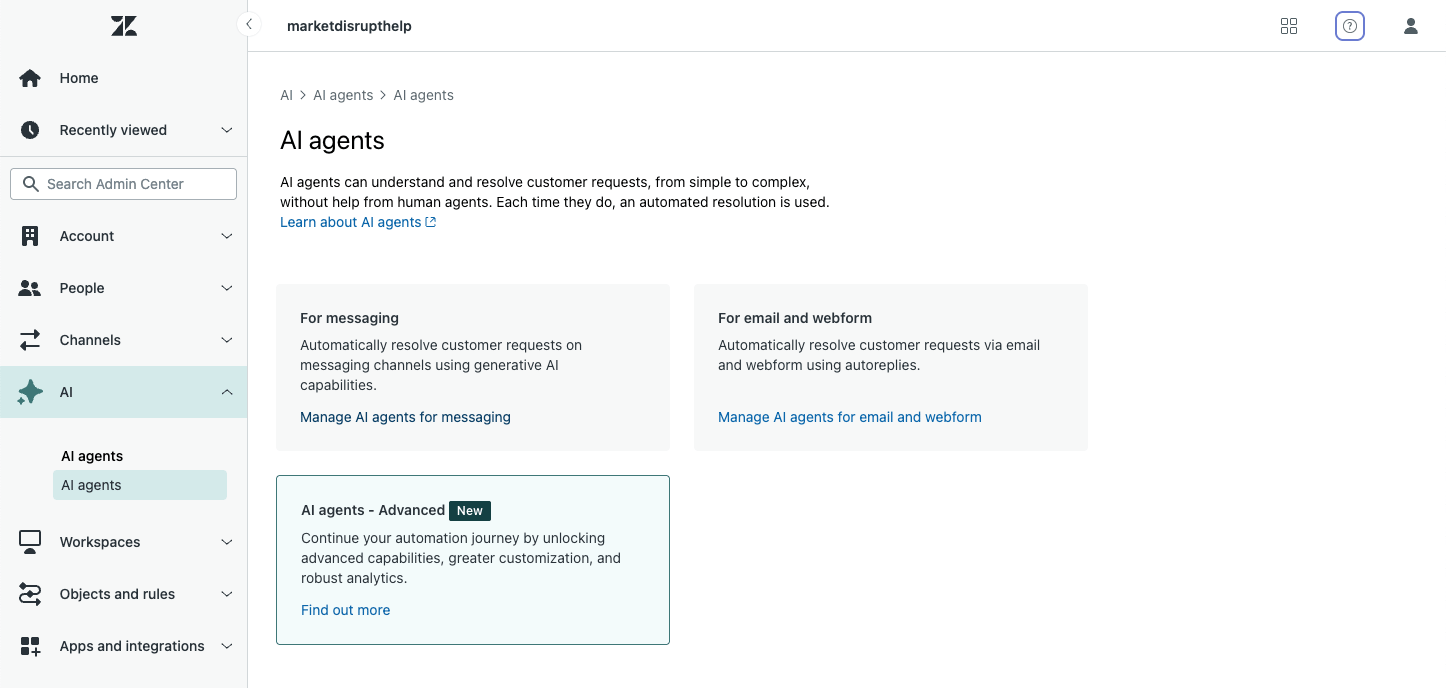
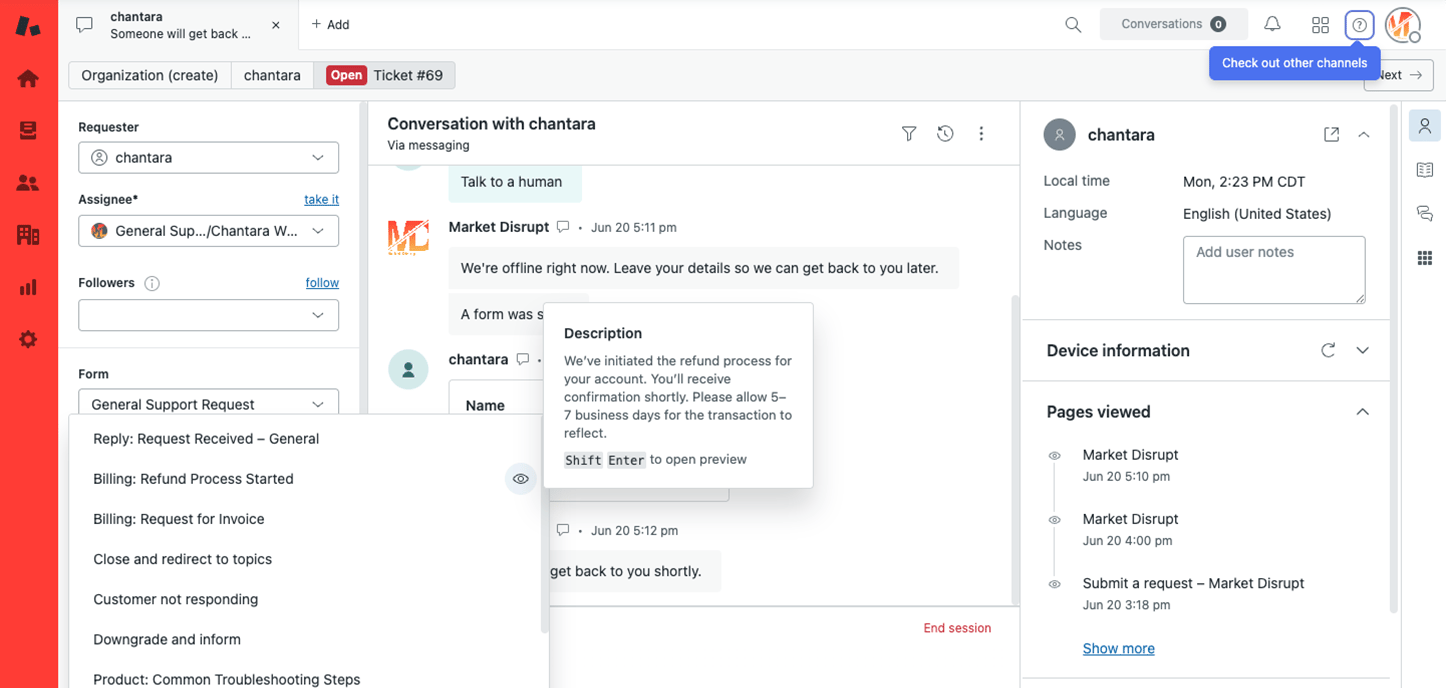
Step 3: Enable Messaging and Set Up Your AI Bot
Today’s customers want answers in real time. They’re reaching out while shopping, researching, or troubleshooting, and they expect support that meets them where they are, whether that’s your website, mobile app, or Help Center.
That’s where Zendesk Messaging shines. It adds real-time live chat and messaging to your support channels and opens the door to true omnichannel support. Even better, when you combine messaging with Zendesk’s AI-powered bot, you can automate the start of every conversation while keeping things personal and helpful.
Done well, this becomes your first layer of support: answering quick questions, deflecting tickets with helpful content, and gathering context before a human steps in.
Key actions:
- Enable Zendesk Messaging across web, mobile, and Help Center
This makes your team accessible to customers across multiple touchpoints. Conversations are seamless and persistent across sessions. - Set up your AI bot to handle common inquiries
Build replies to top questions like order tracking, account updates, or product availability. This gives customers instant answers while freeing up your agents. - Offer quick reply buttons and article suggestions
Bots can surface your self-service content directly in the chat, offering helpful info without opening a ticket. - Configure smooth handoffs to agents
When the bot can't solve an issue, it should escalate cleanly to a person with intact conversation context. - Customize the bot’s personality and tone
This is part of your brand voice. Give your bot a friendly name, choose a writing style that fits your brand, and make it feel like part of the team.
With messaging and your AI bot working together, you’re building the future of customer service. It’s fast, smart, and available wherever your customers are; a key piece of any modern customer support software stack.
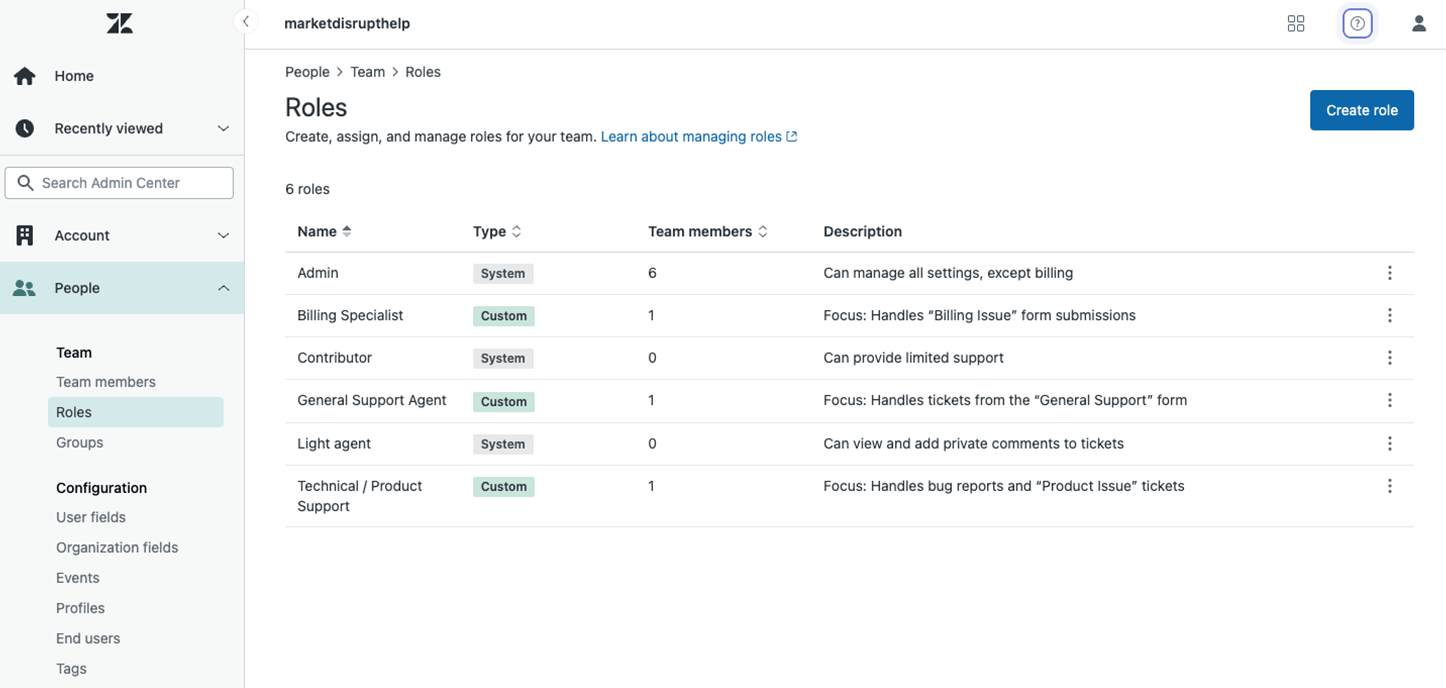
Step 4: Add Agents, Roles, and Support Groups
With your channels live and your self-service resources growing, it’s time to set up the heart of your operation: your team. How you organize agents and assign roles greatly affects response speed, ticket routing, and accountability.
Zendesk allows you to set up support teams that reflect your structure today, with room to grow into something bigger tomorrow. Whether your team is three people or thirty, taking time to build the proper foundation now will pay off later in speed and clarity.
Key actions:
- Add your agents and assign them roles based on responsibilities
Roles control what agents can see and do in Zendesk. Start with built-in roles or create custom ones tailored to your support workflow. - Create support groups aligned to ticket types or skill sets
Think about standard buckets like Billing, Technical Support, or Product Feedback. Groups allow you to route tickets more intelligently. - Map out your escalation process
Not every issue is resolved at tier one—plan and document who handles escalations and how those transitions should happen. - Define permissions and access thoughtfully
Not everyone needs access to everything. Limit access based on roles and functions to keep things clean and secure.
 This structure supports a more efficient workflow, clearer responsibilities, and a stronger support culture. It’s also a must-have if you want to implement scalable support confidently.
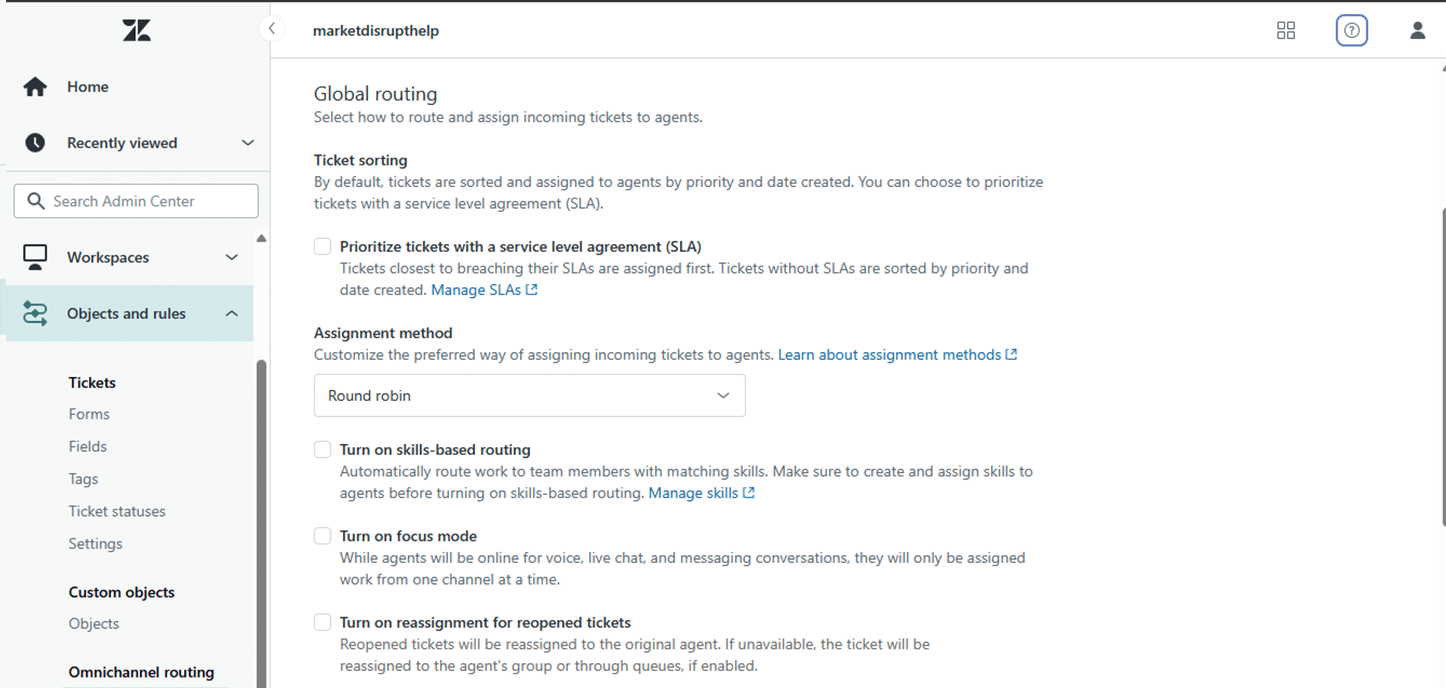
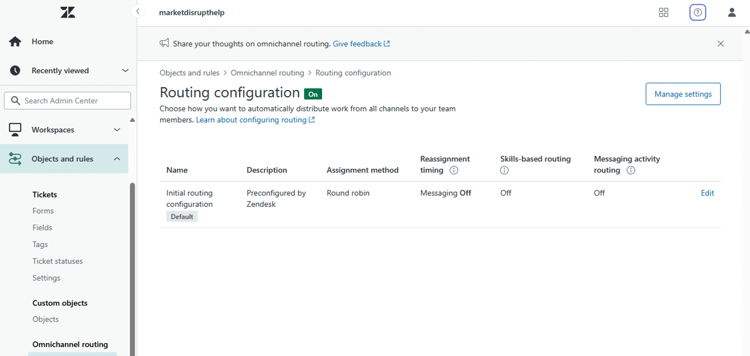
Step 5: Build Ticket Forms, Fields, and Omnichannel Routing
When a customer contacts you, the faster you can understand their problem, the faster you can help. That’s why it's so important to capture the right information at the start of every interaction.
Zendesk lets you create structured ticket forms and custom fields so that your agents immediately get the context they need. This information also fuels intelligent routing and prioritization, essential parts of an automated workflow.
Better forms lead to better service and less back-and-forth for everyone involved.
Key actions:
- Create custom ticket fields that collect critical info
Ask for things like issue type, urgency, or product category. This ensures agents can jump in with the whole picture. - Design ticket forms for specific request types
You might have one form for technical issues and another for billing questions. This keeps forms relevant and short. - Set up routing rules based on form inputs
Use automations and triggers to route tickets to the right support group based on what the customer submits. - Configure rules for different channels
Whether they’re emails, chat, or contact forms, you can route tickets appropriately based on where they came from and what they contain. - Ensure agents have visibility into how and why tickets reach them
Transparency helps with prioritization and improves customer response time.
 A well-structured ticketing system is an essential part of your help desk solution. It brings order to chaos and keeps your omnichannel support flowing smoothly
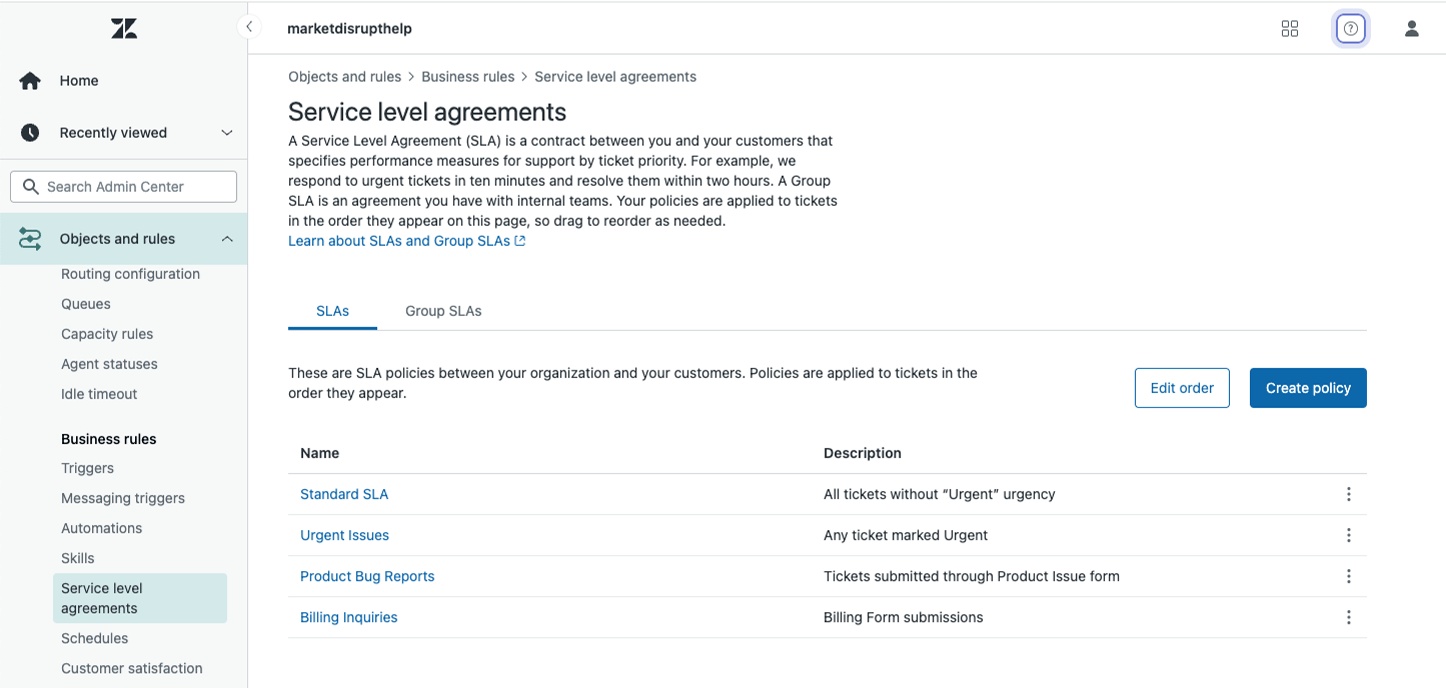
Step 6: Equip Agents with Views, Macros, and SLAs
Now that your system captures, routes, and categorizes tickets, your team needs tools to manage them efficiently. Zendesk offers features that help agents stay organized, move quickly, and respond consistently, no matter how many tickets are in the queue.
Views, macros, and SLAs are more than helpful. They turn a basic support inbox into a full-fledged customer experience platform.
Key actions:
- Build custom views to group and prioritize tickets
Think of views as smart filters. Create ones for urgent tickets, VIP customers, or specific product lines to help agents stay focused. - Create macros for repetitive replies
Use macros for everyday actions like password resets, order updates, or thank you messages. They save time and ensure consistent language. - Set up service level agreements to define response expectations
SLAs let you track how quickly your team responds to and resolves different requests. They’re crucial for managing performance. - Use automations to keep workflows moving
Set reminders, close stale tickets, or escalate overdue ones, all without manual effort.
 When agents have the right tools, they spend less time clicking around and more time delivering fast, thoughtful support. Customers remember that kind of experience.
Step 7: Turn On Zendesk Copilot for Smarter Support
Now for the fun part, bringing AI into your workflows. Zendesk Copilot is a suite of AI-powered support tools designed to work seamlessly with your team. It doesn’t replace the human touch. Instead, it gives your agents smart suggestions and shortcuts that help them respond faster and more accurately.
This is a simple and effective way to introduce support automation without overwhelming your agents or compromising your brand voice.
Key actions:
- Enable AI features like ticket summarization and suggested replies
These tools reduce agents' time reading and writing while helping them stay aligned with your tone and messaging. - Use smart triage to auto-label tickets by sentiment, language, and intent
This adds rich context from the outset and aids in sorting and prioritization. - Train agents to edit and personalize AI replies
The goal is efficiency, not generic responses. Your team should review and refine suggestions as needed. - Track AI usage and performance over time
Use Zendesk’s reporting tools to see how Copilot affects resolution time, response quality, and overall agent productivity.
By turning on Zendesk Copilot, you’re not just adopting AI. You’re setting your team up with an intelligent assistant that helps them scale their efforts and focus on what they do best, supporting your customers.
Your Zendesk Instance Is now Ready to Scale
If you’ve completed these seven steps, you now have a powerful, modern customer support software stack ready to scale with your business. You’ve built:
- A branded and consistent customer experience platform
- A self-service portal that deflects tickets and empowers customers
- Real-time live chat and messaging backed by an AI-powered bot
- Organized teams with clear roles and intelligent ticket routing
- Automated workflows that streamline your support process
- Tools that help agents stay efficient and consistent
- Scalable support powered by AI and ready for future growth
Regardless of your industry or company size, this setup will enable your team to deliver fast, helpful, and personalized support.
Need a Hand With Your Zendesk Setup?
We work with growing businesses every day to launch Zendesk correctly. As a Certified Zendesk Partner, we help SMBs, startups, and manufacturing teams build support systems that are reliable, scalable, and tailored to their specific needs.
Whether you’re just getting started or want to optimize an existing setup, we’re here to help you.
Let’s turn your Zendesk instance into a powerful support engine. Reach out today, book a call, and let’s build something great together.
To learn more about Market Disrupt’s results-driven approach and innovative marketing strategies, visit marketdisrupt.io.